Page Name:
Enter your page name into Add Title

Creating Rows:
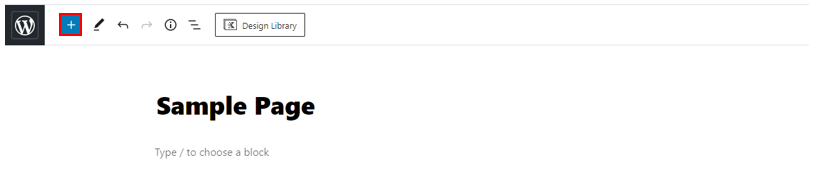
To add a Kadence row, select the button with the “+” in either the top menu bar or on the side of the page
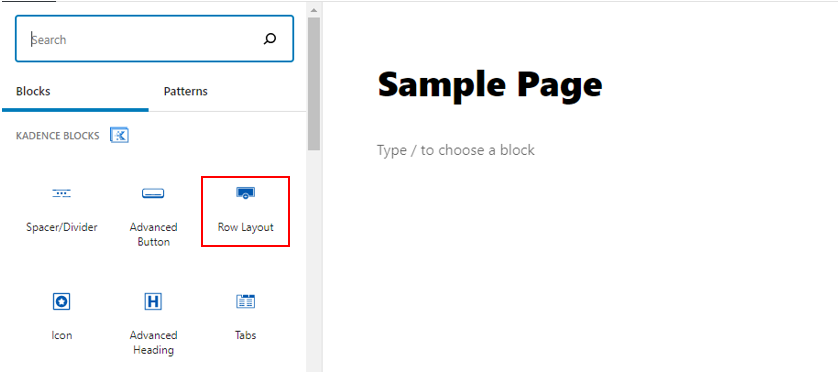
From the sidebar select Row Layout from the Kadence Blocks section
Select your layout by selecting one of the grey boxes

The row should look something like this:

On the right-hand side of the screen is the block editor which should look something like this:

Here you can edit the row. For example, changing the number of columns or the padding.
Changing the Number of Columns and Layout:
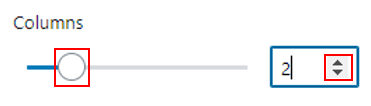
To add or remove columns use the arrows in the box or drag the circle
To change the layout of the row hover over the light grey line between the columns and drag the courser to where you want the columns to end/start.

Alternatively, you can choose the layout form the sidebar.

Padding and Margins:
To add padding to the row, go to the sidebar Block > Padding/Margin and enter the values into the boxes.

Background Settings:
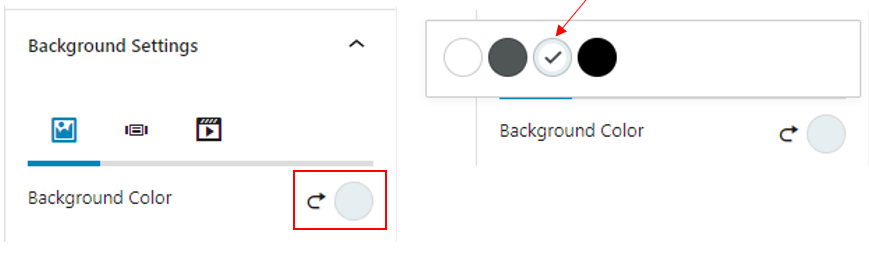
To change the background colour of the row, go to the sidebar Block > Background Settings and select the circle next to Background Colour. The colour options to choose from will be displayed.
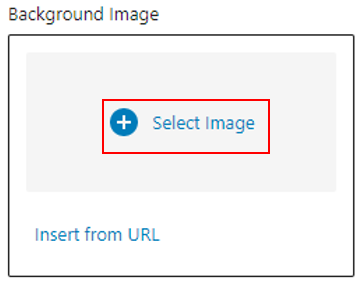
To add a background image press, Select Image and upload/choose an image from your media library.
Border Settings:
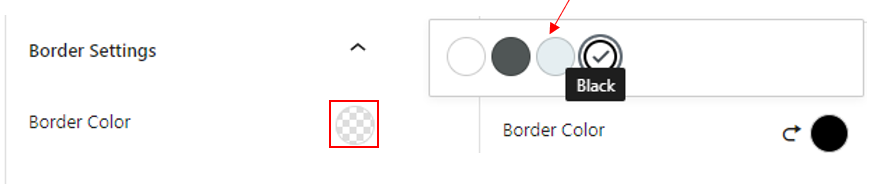
To change the colour of the border, go to the sidebar Block > Border Settings and select the circle next to Border Colour. The colour options should then be displayed for you to choose from.
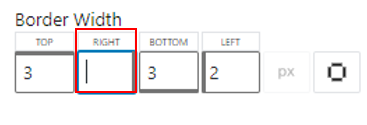
To change the width of the border, enter the width you want into each of the boxes.
Editing Sections/Columns:
To edit the individual sections, press on the section and go to the sidebar Block. Here you can edit the section the same way as mentioned above.
Adding Elements to Rows:
To add elements into the sections, select the “+” within the box/row

A small menu should appear for you to select the element you want to add. If the element you want is not displayed in your most frequently used elements you can either search for it in the search bar or select the Browse All button which will display the element sidebar.

Adding a Button:
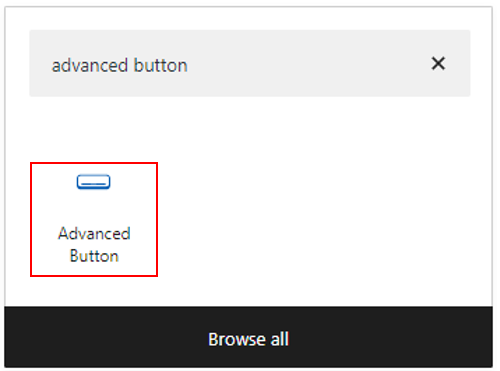
To add a button, firstly add a row as shown above. Select the “+” within the box/row

From the menu select Advanced Button
You should now have a button like the one below:

To add text, double click on the button and enter your text

To add a link to your button, enter the URL into the URL box and press the curly arrow button

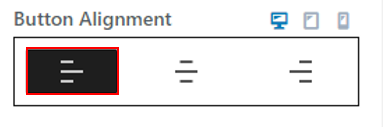
Changing Button Alignment:
To change the alignment of the button (ie. left, centre, right) go to the side bar Block > Button Count.

To change the alignment, select one of the three options from the Button Alignment section.
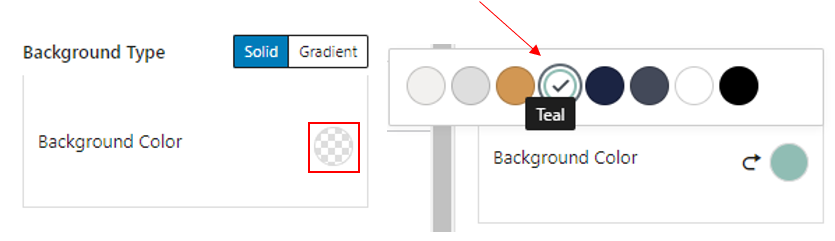
Changing Button Colour:
To change the colour of the button, go to the sidebar Block > Button (1) Settings > Colour Settings.

To change the colour of the text displayed on the button, select the circle next to Text Colour and select the colour you want. The colour options to choose from will be displayed.

To change the background colour of the button, select the circle next to Background Colour and select the colour you want. The colour options to choose from will be displayed.
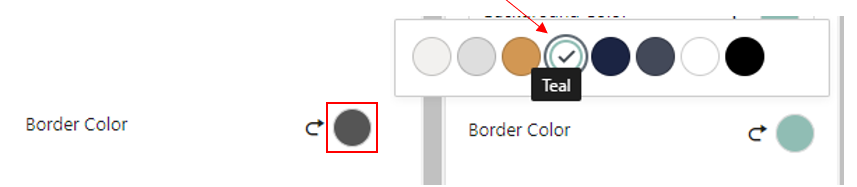
To change the border colour of the button, select the circle next to Border Colour and select the colour you want. The colour option to choose from will be displayed.
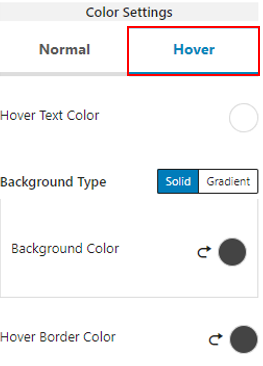
To change the colour of the button when you hover over it go to Block > Button (1) Settings > Colour Settings > Hover and repeat the steps above.
Adding an Advanced Gallery:
To add an advanced gallery, firstly add a Row as shown above. Select the “+” within the box/row

From the menu select Advanced Gallery

The advanced gallery should look something like this:

To add images to the gallery you can either upload from your device or select images from the media library by selecting one of the buttons below:

Your screen should look one of the below:


Once you have selected the images you want to add to the gallery select the Create New Gallery button in the bottom right corner.

Your screen should look like this:

To add captions to the images select the Caption box beneath each image and enter the text you want displayed.

When you have finished selecting images and editing captions select the Insert Gallery button in the bottom right corner.

Your gallery should now look something like this:

Changing the Image Layout:
To change the layout of the images in the gallery go to the sidebar Block > Gallery Settings > Gallery Type
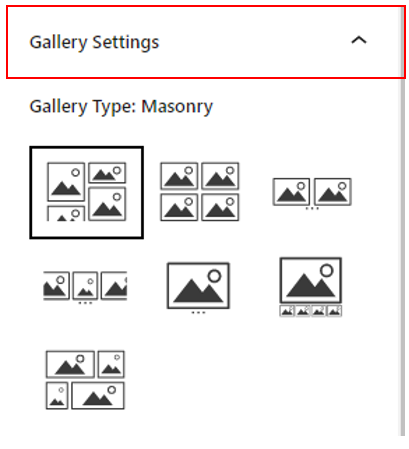
Select the layout you want from the options displayed.


